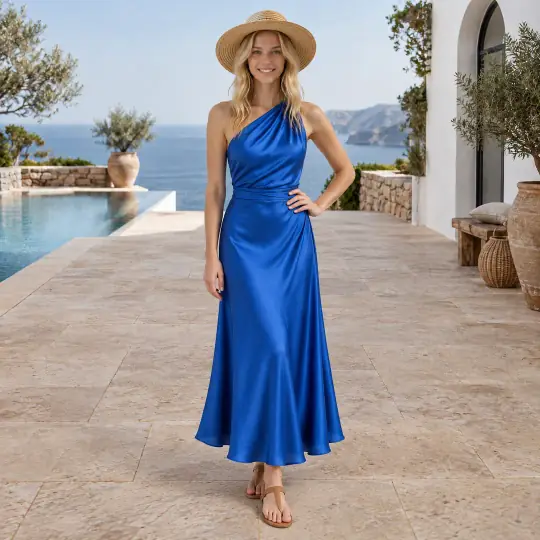
Three ways to direct a pose
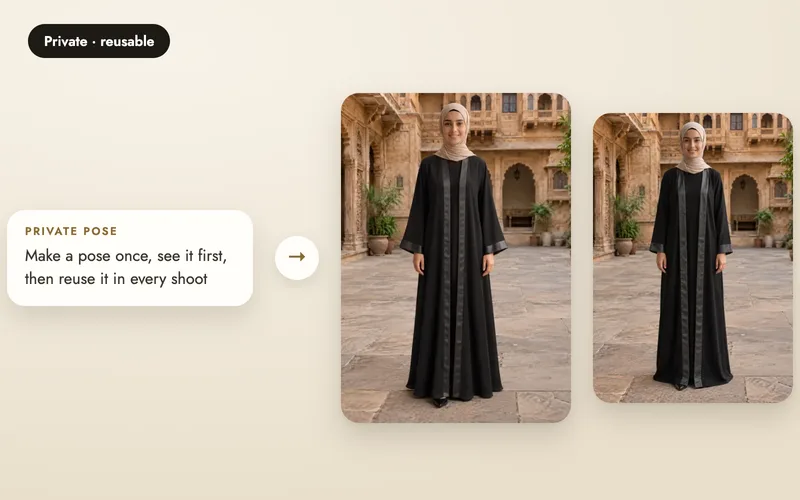
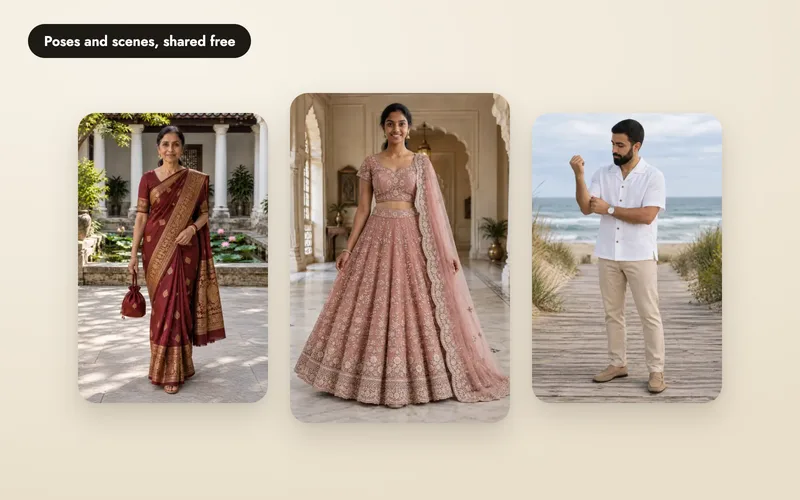
| Instruction in words | Private pose photo | Community pose photo | |
|---|---|---|---|
| Extra cost | 0 credits | 5 credits | Free, 5 a day |
| Preview first | No | Yes | Yes |
| Saved to reuse | No, this image only | Yes, only you | Yes: you now, everyone after approval |
| Result | More variation | Follows the photo | Follows the photo |
The product image itself always costs 5 credits.
How to add an instruction
Open Your own
On the Poses step, open the Your own tab.
Describe the pose
Type the pose in one sentence (8 to 600 characters). Say what the body does, where the hands are and where the model looks.
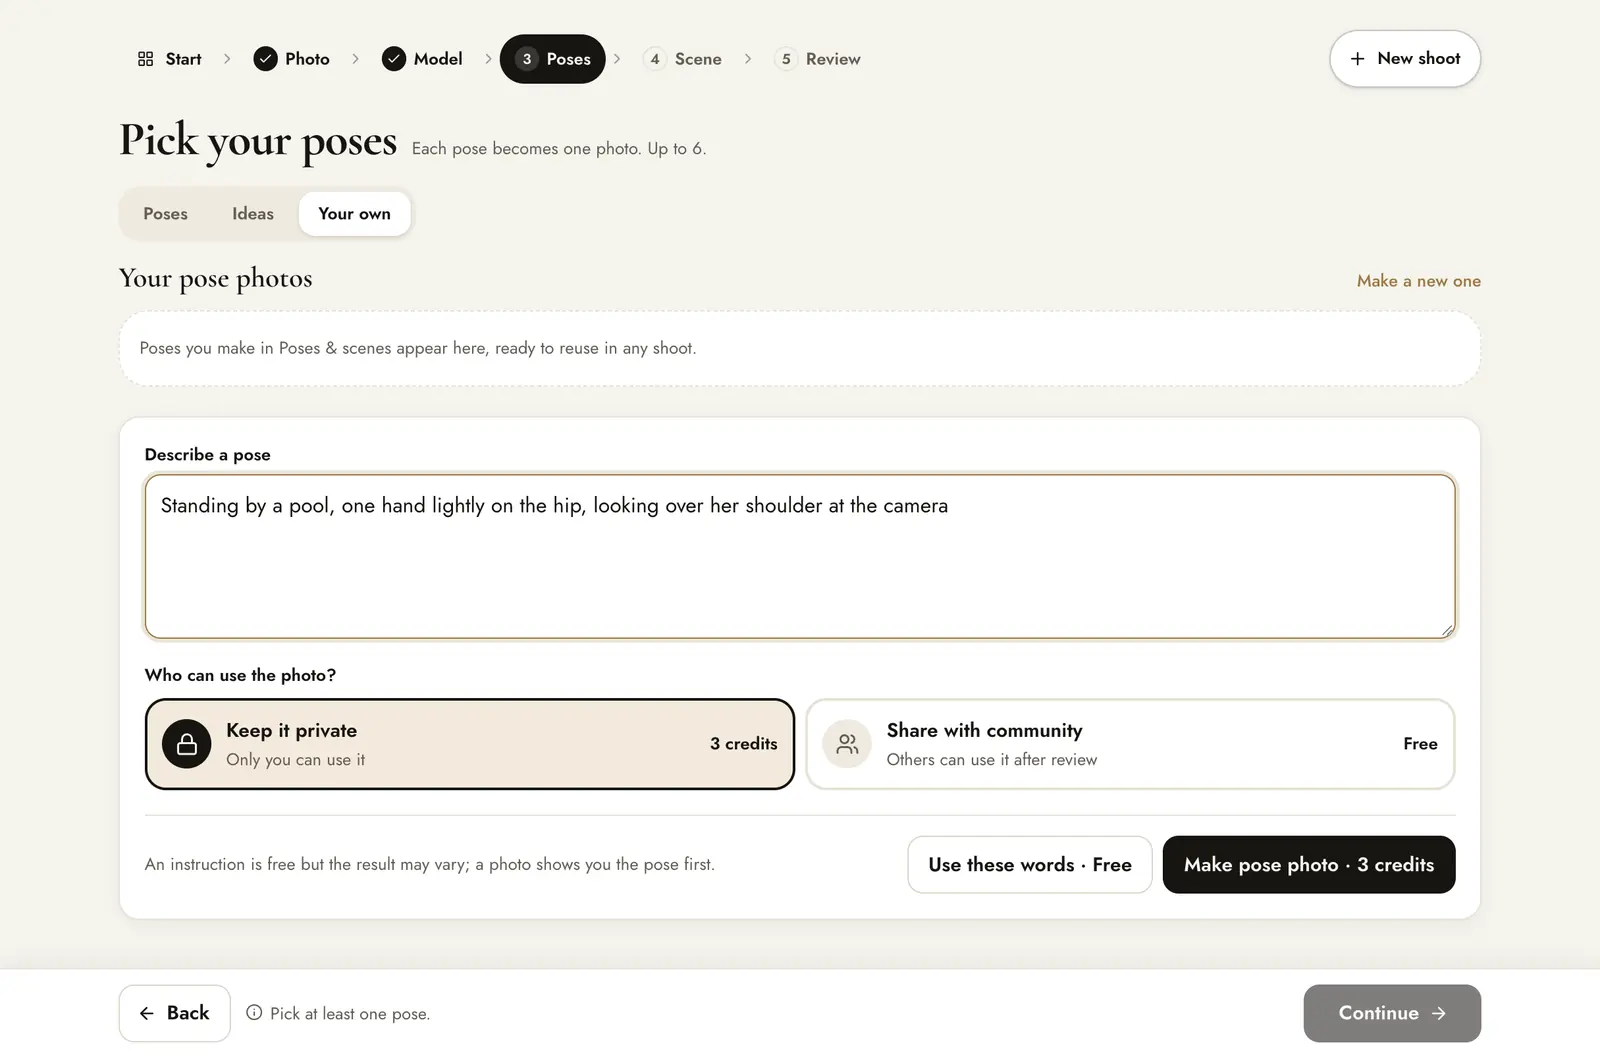
Use these words
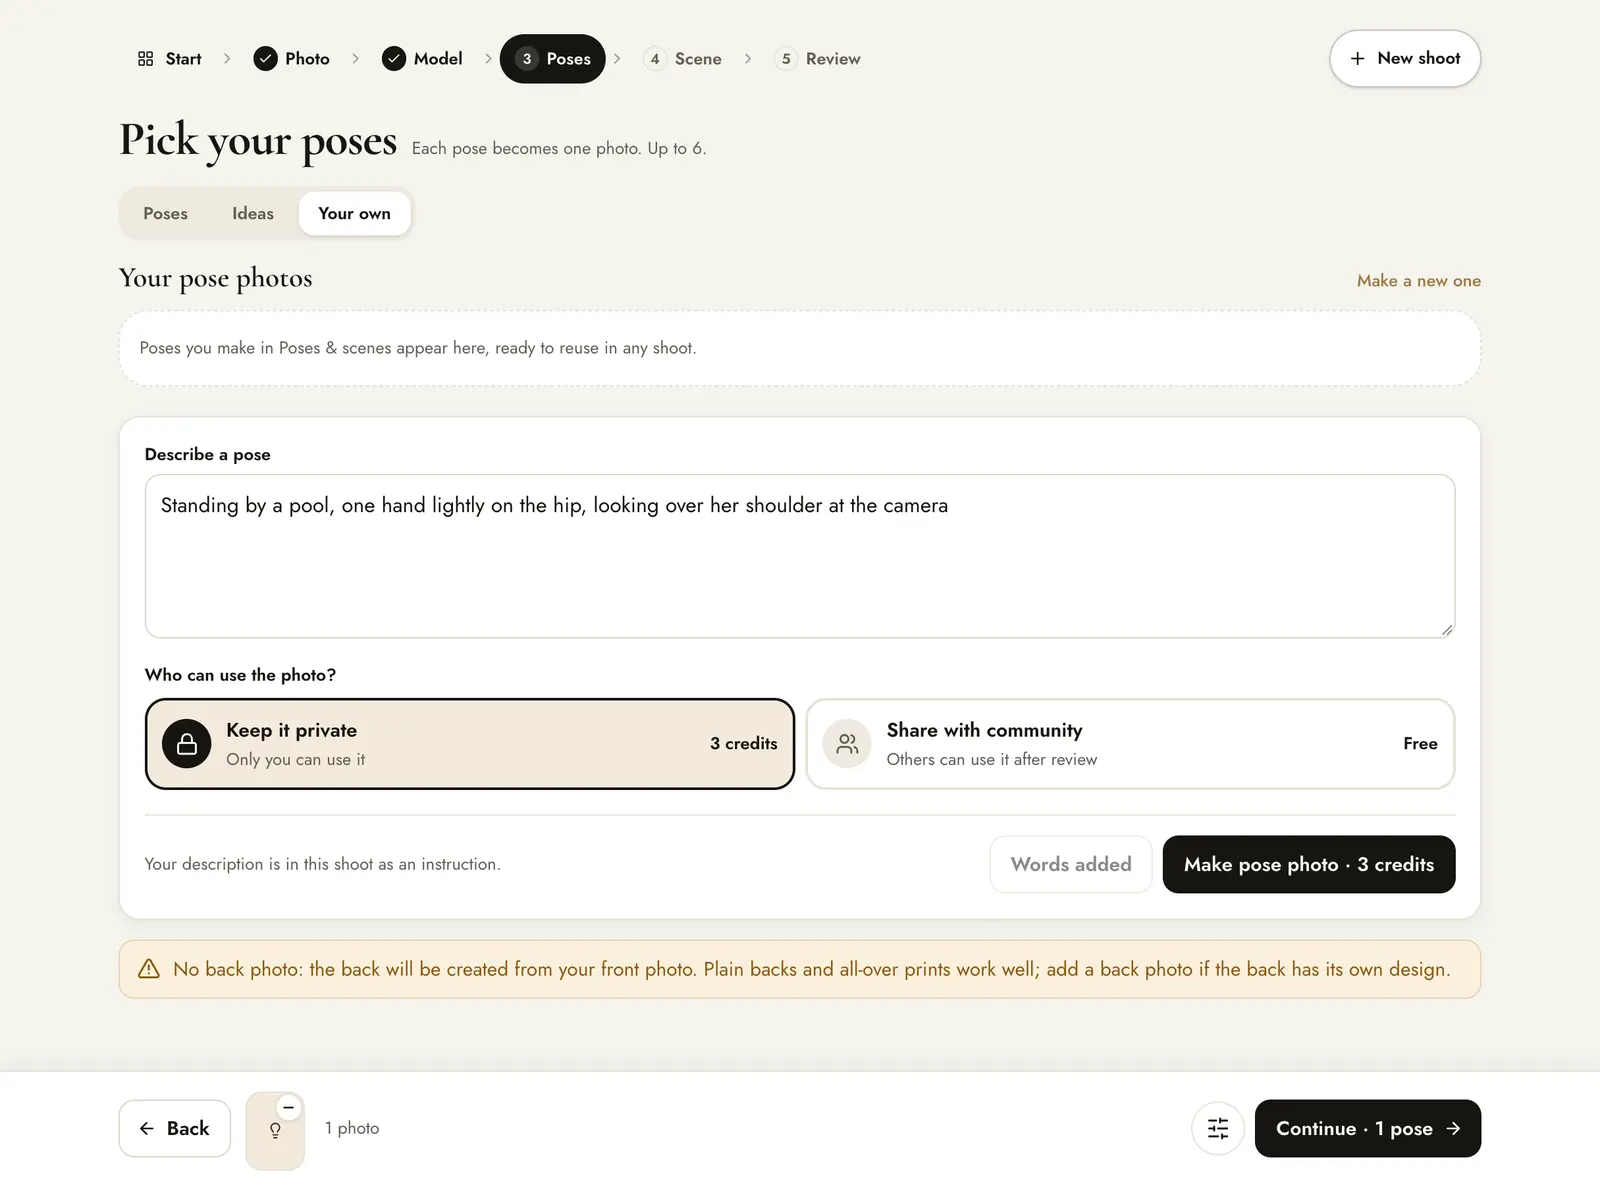
Press Use these words · Free. It joins your selected poses as a text card, and the count at the bottom goes up by one image.
Create as usual
On Review, the instruction appears as a text card. The cost is 5 credits for that image, the same as a catalogue pose.
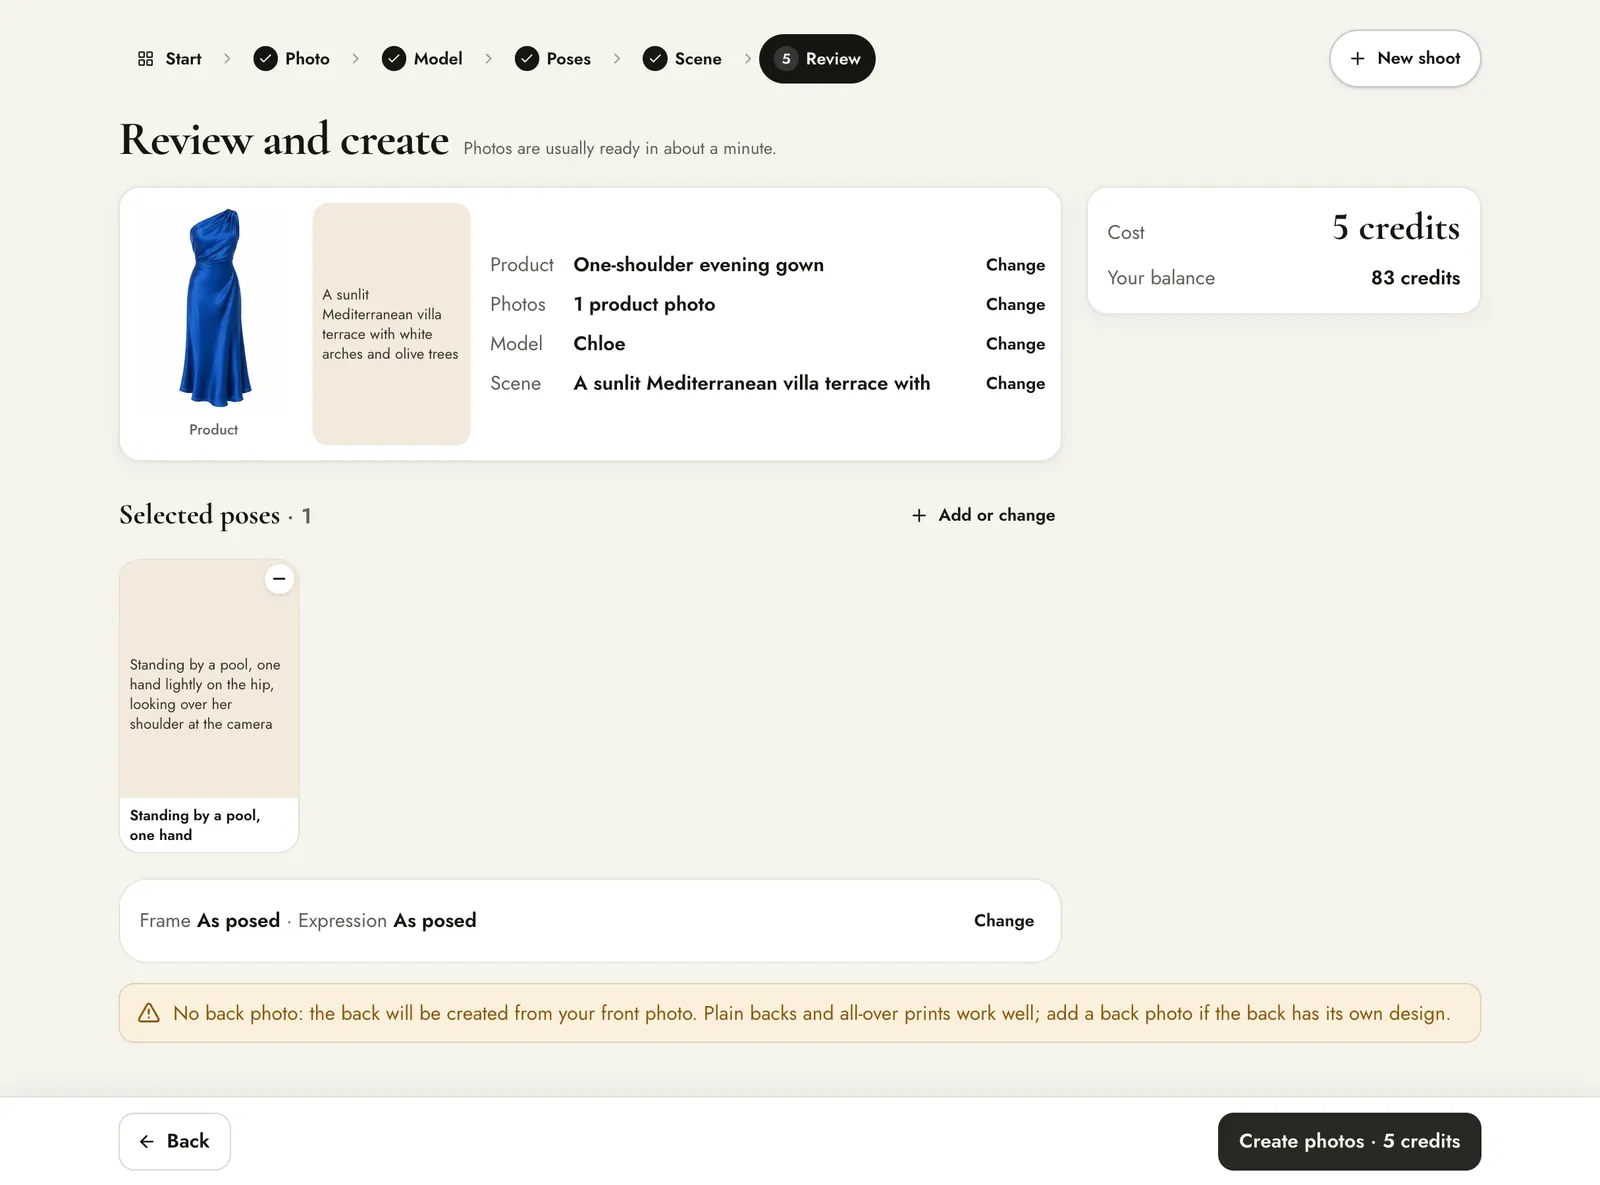
0 extra credits. The image costs 5 credits like any other.
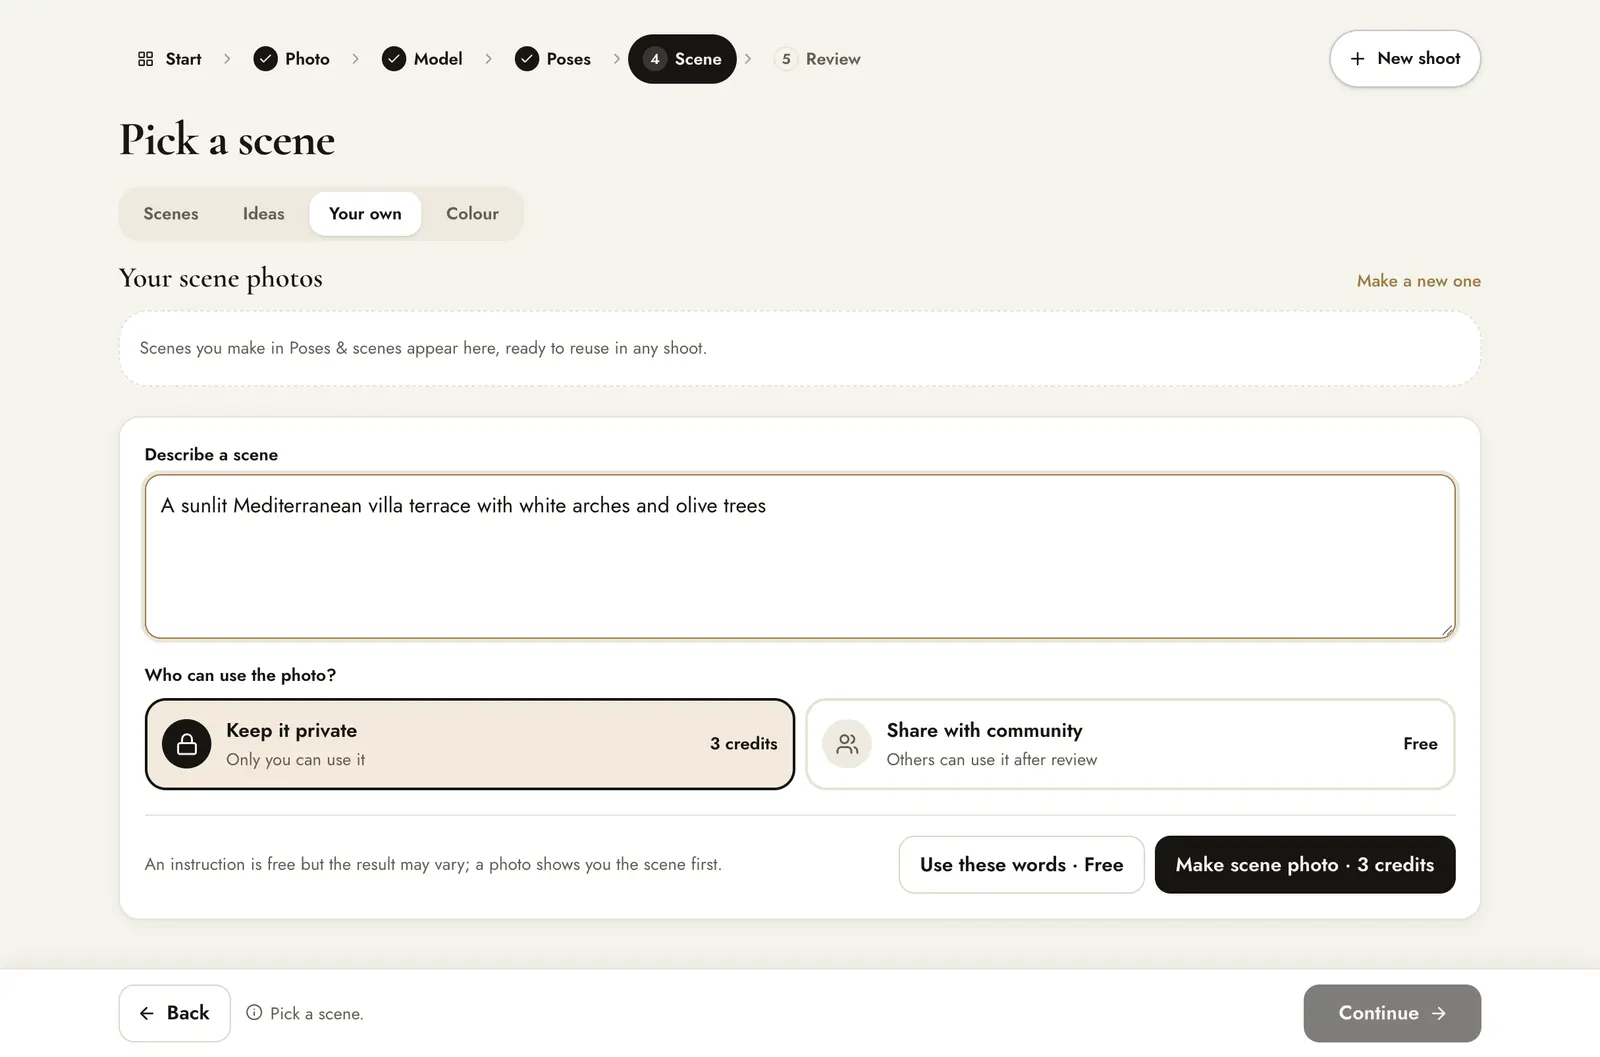
Describe a scene
The Scene step has the same Your own tab. Describe the place, the light and the time of day. Use these words · Free works the same way, and Make backdrop photo makes a reusable scene.
In a retry
When you make an image again, press Change next to the pose or scene and choose Describe.
How to write a good instruction
- Name the position first: standing, walking, seated, leaning.
- Then the hands and head: “one hand in pocket, looking over the left shoulder”.
- Keep the product visible: avoid crossed arms over a print or hands over a necklace.
- For scenes: place, light and time. “Sunlit café, morning, large windows.”
An instruction is not saved. To reuse the same pose in many shoots, make a pose photo instead. A preview also shows you the pose before you spend credits on product images.