A good product photo
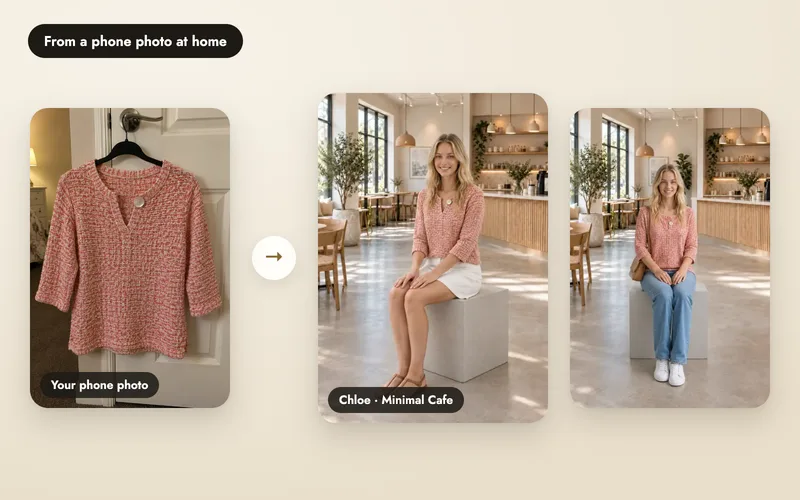
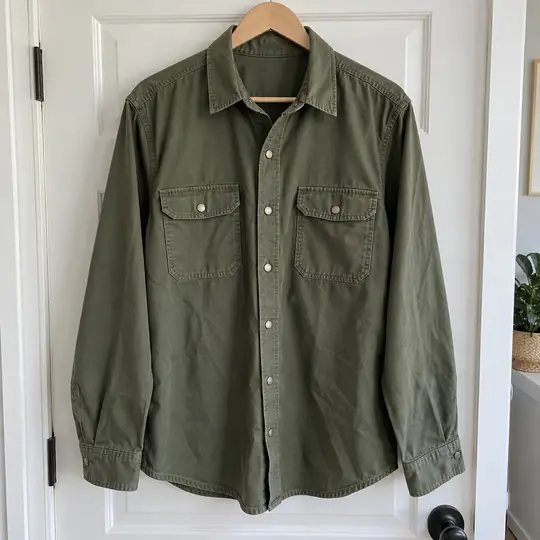
You don't need a studio. Hang the garment on a door or a wardrobe, stand back, and take one photo in daylight. That is exactly how the overshirt above was photographed.
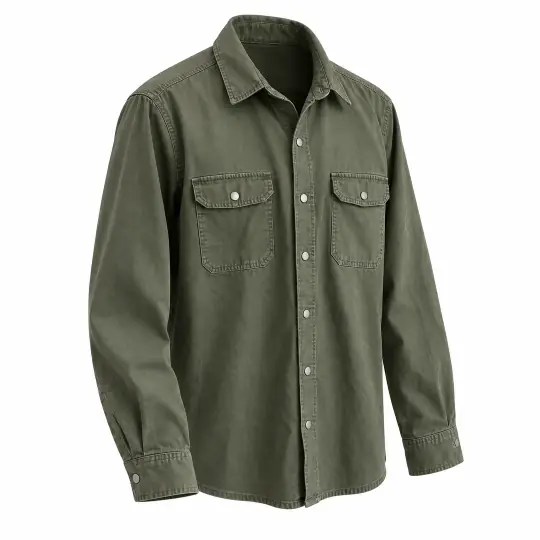
- The whole product is in the frame, flat or on a hanger, on a plain background.
- Even light, no strong shadows or colour cast. Daylight near a window works.
- Prints, embroidery and hardware are sharp enough to read.
- If the product is worn in the photo, crop out the person's face. Only the product is used.
Back and close-up photos
On the Photo step, the Back and Detail slots under More angles are optional and free. A back photo helps back and lookback poses. A close-up keeps small details right, like zari, buttons or a pendant. Without a back photo, A Pose Studio creates the back from the front photo, so check back views carefully.
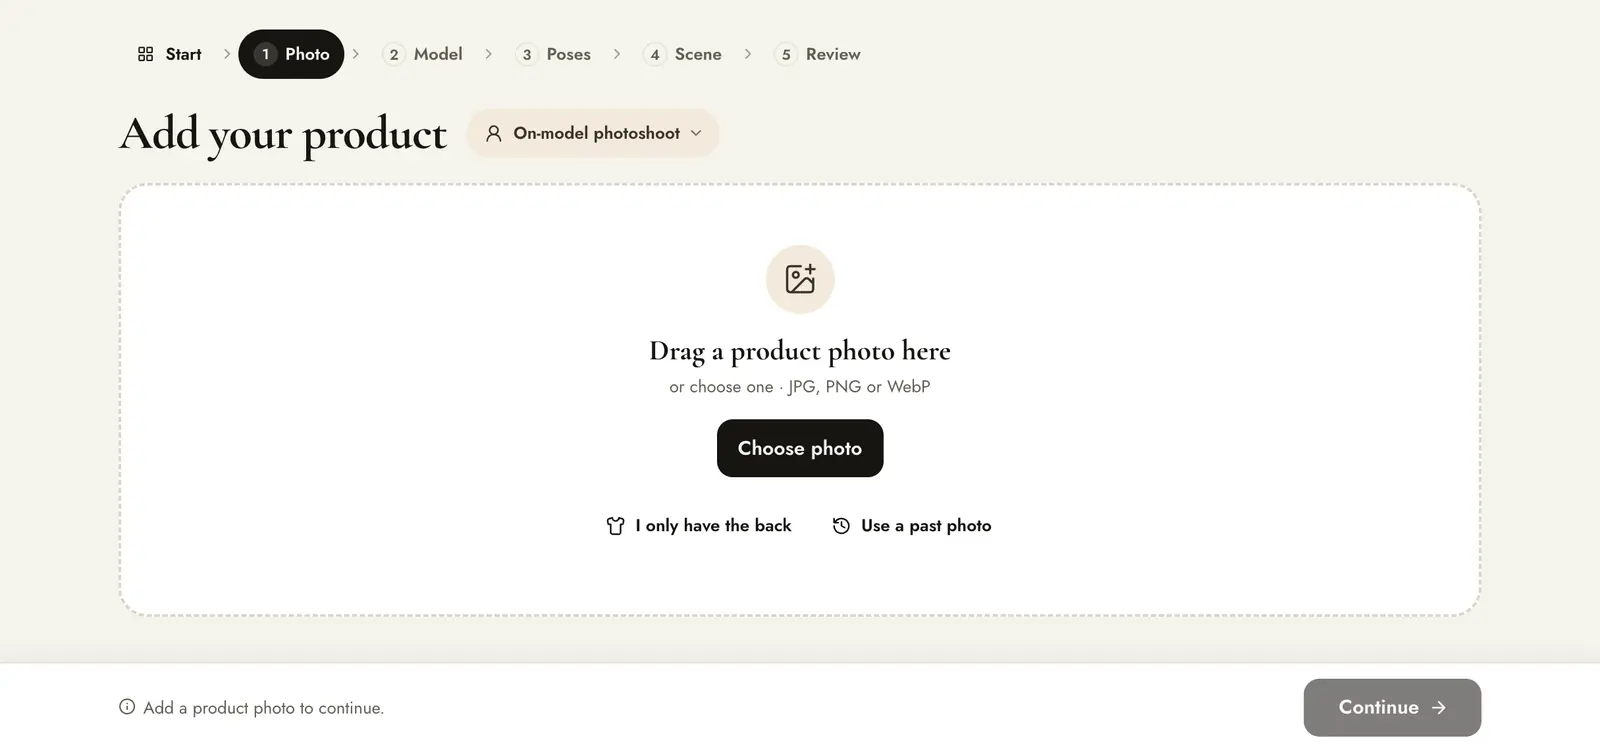
Only have the back? Press I only have the back when you upload, or mark the photo as Back view.
Check the product details
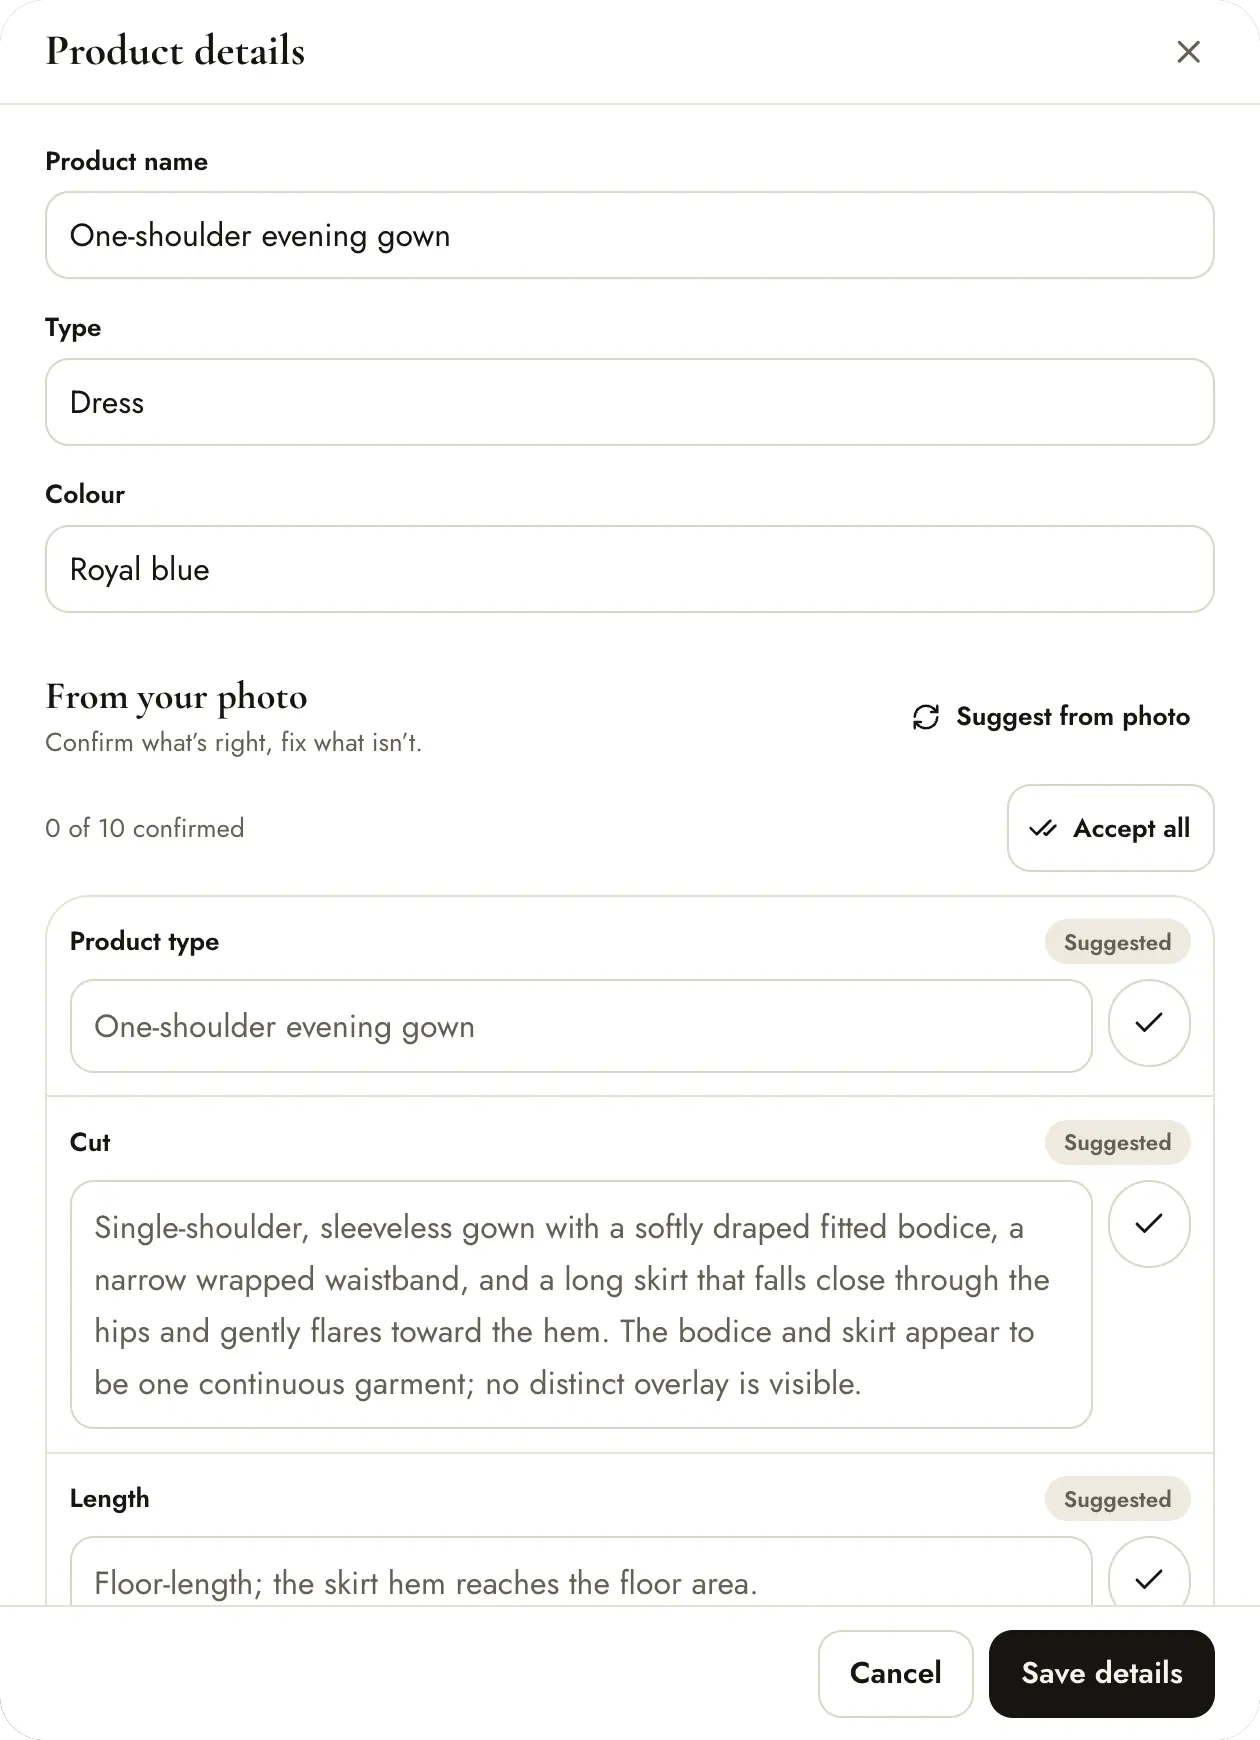
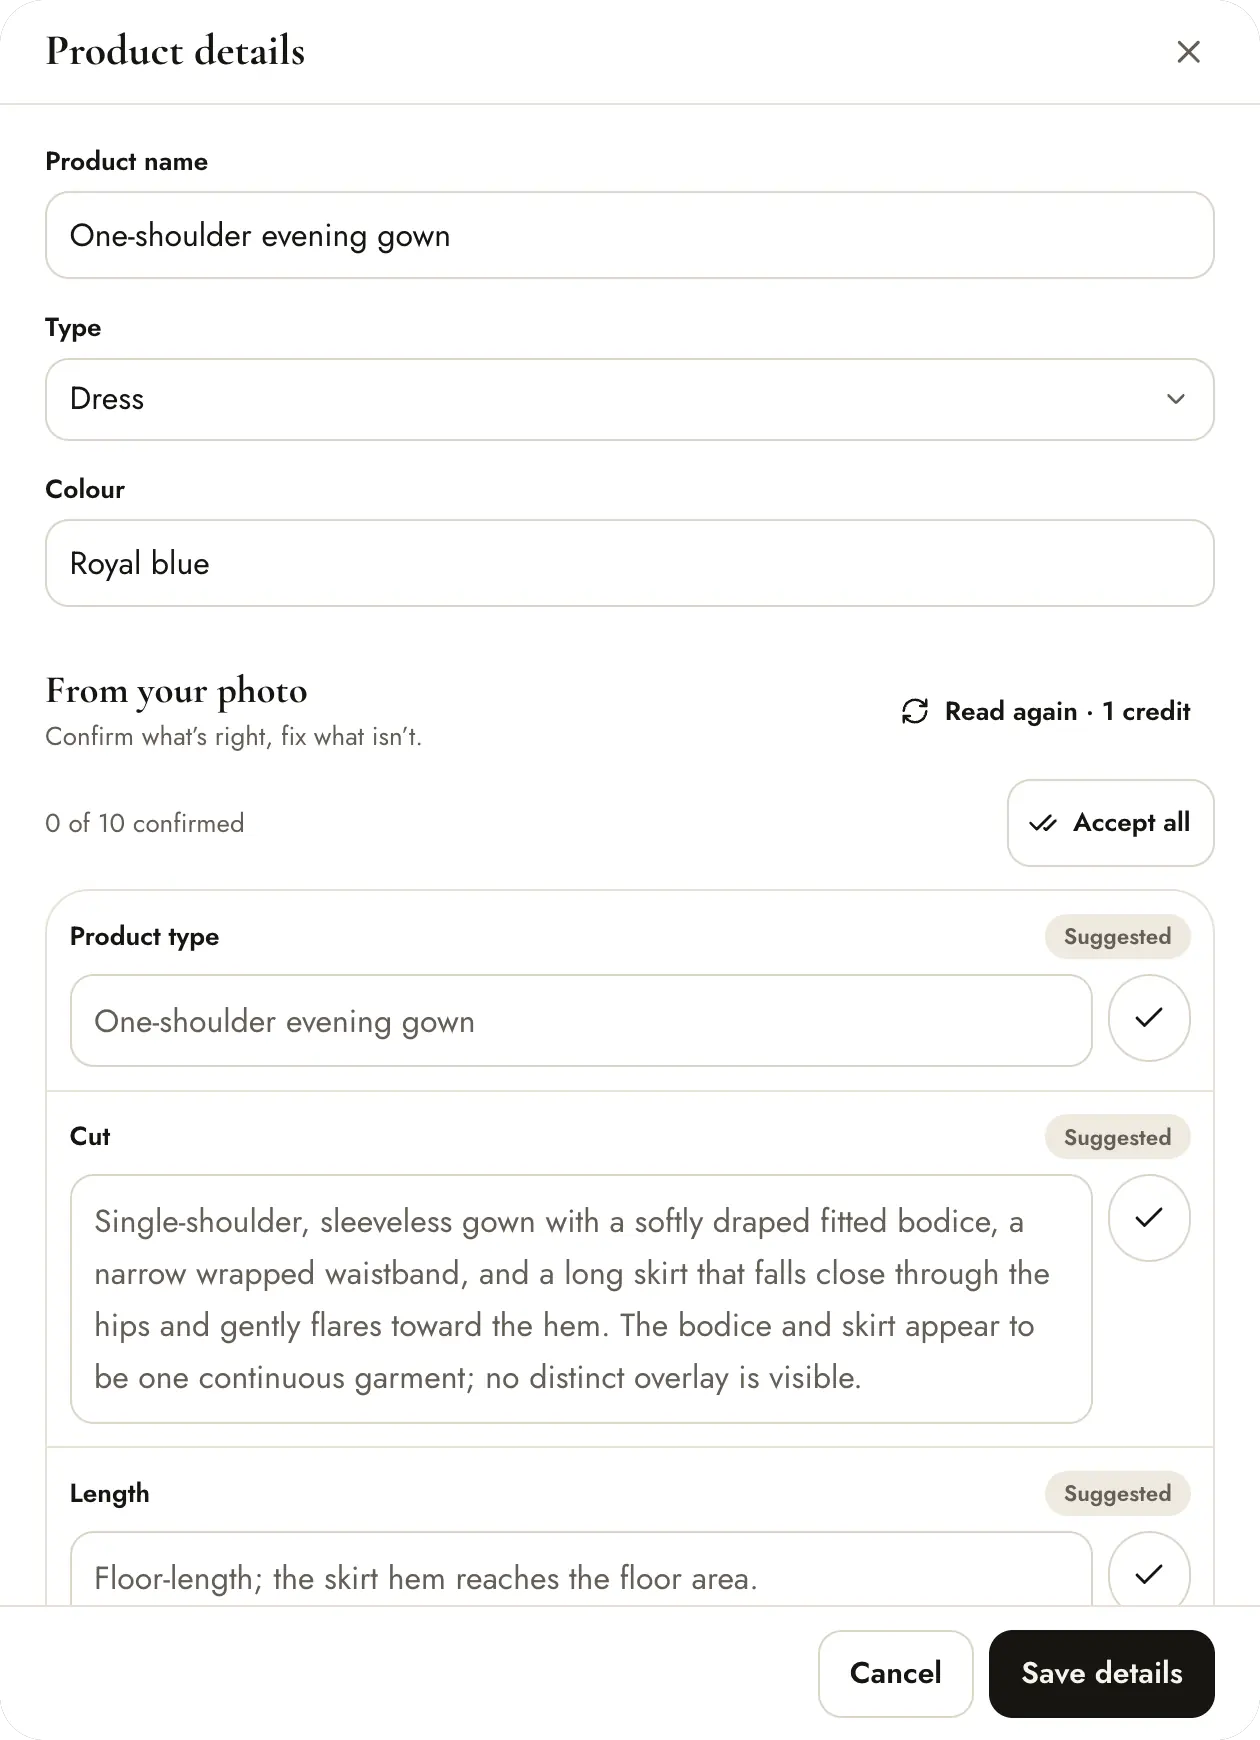
A Pose Studio reads each photo and suggests the product type, cut, length, pattern and more. Open the product card to confirm each suggestion or correct it, then press Save details. Correct details help the poses and the result.
Reuse a past photo
Press Use a past photo, search for the product, and press Use this photo, or assign each photo to Front, Back or Detail one by one. Earlier shoots are not changed.
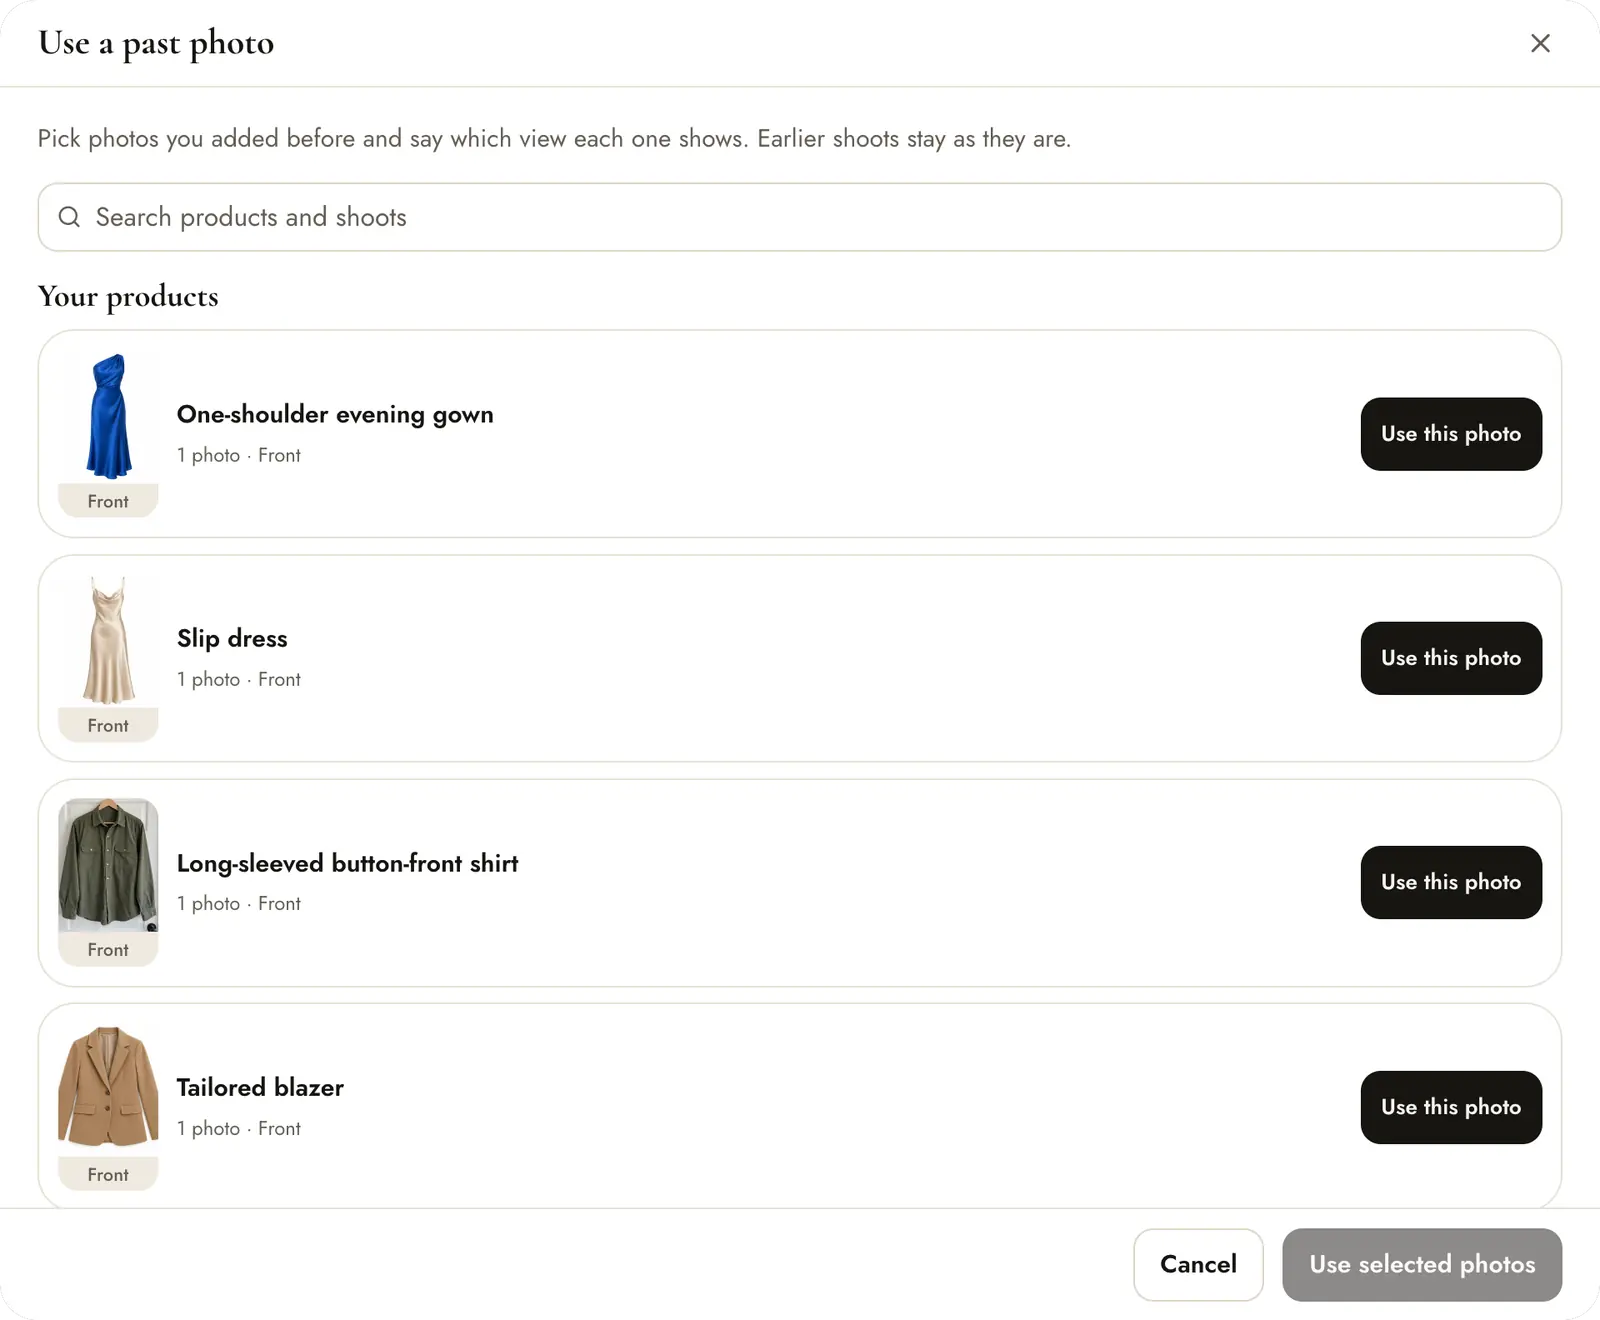
Your Garments page
Every product you upload is saved in Garments, on the website and in the phone app. Search by name, type or colour, edit the details, or delete a product you no longer need; deleting it also removes it from Use a past photo.
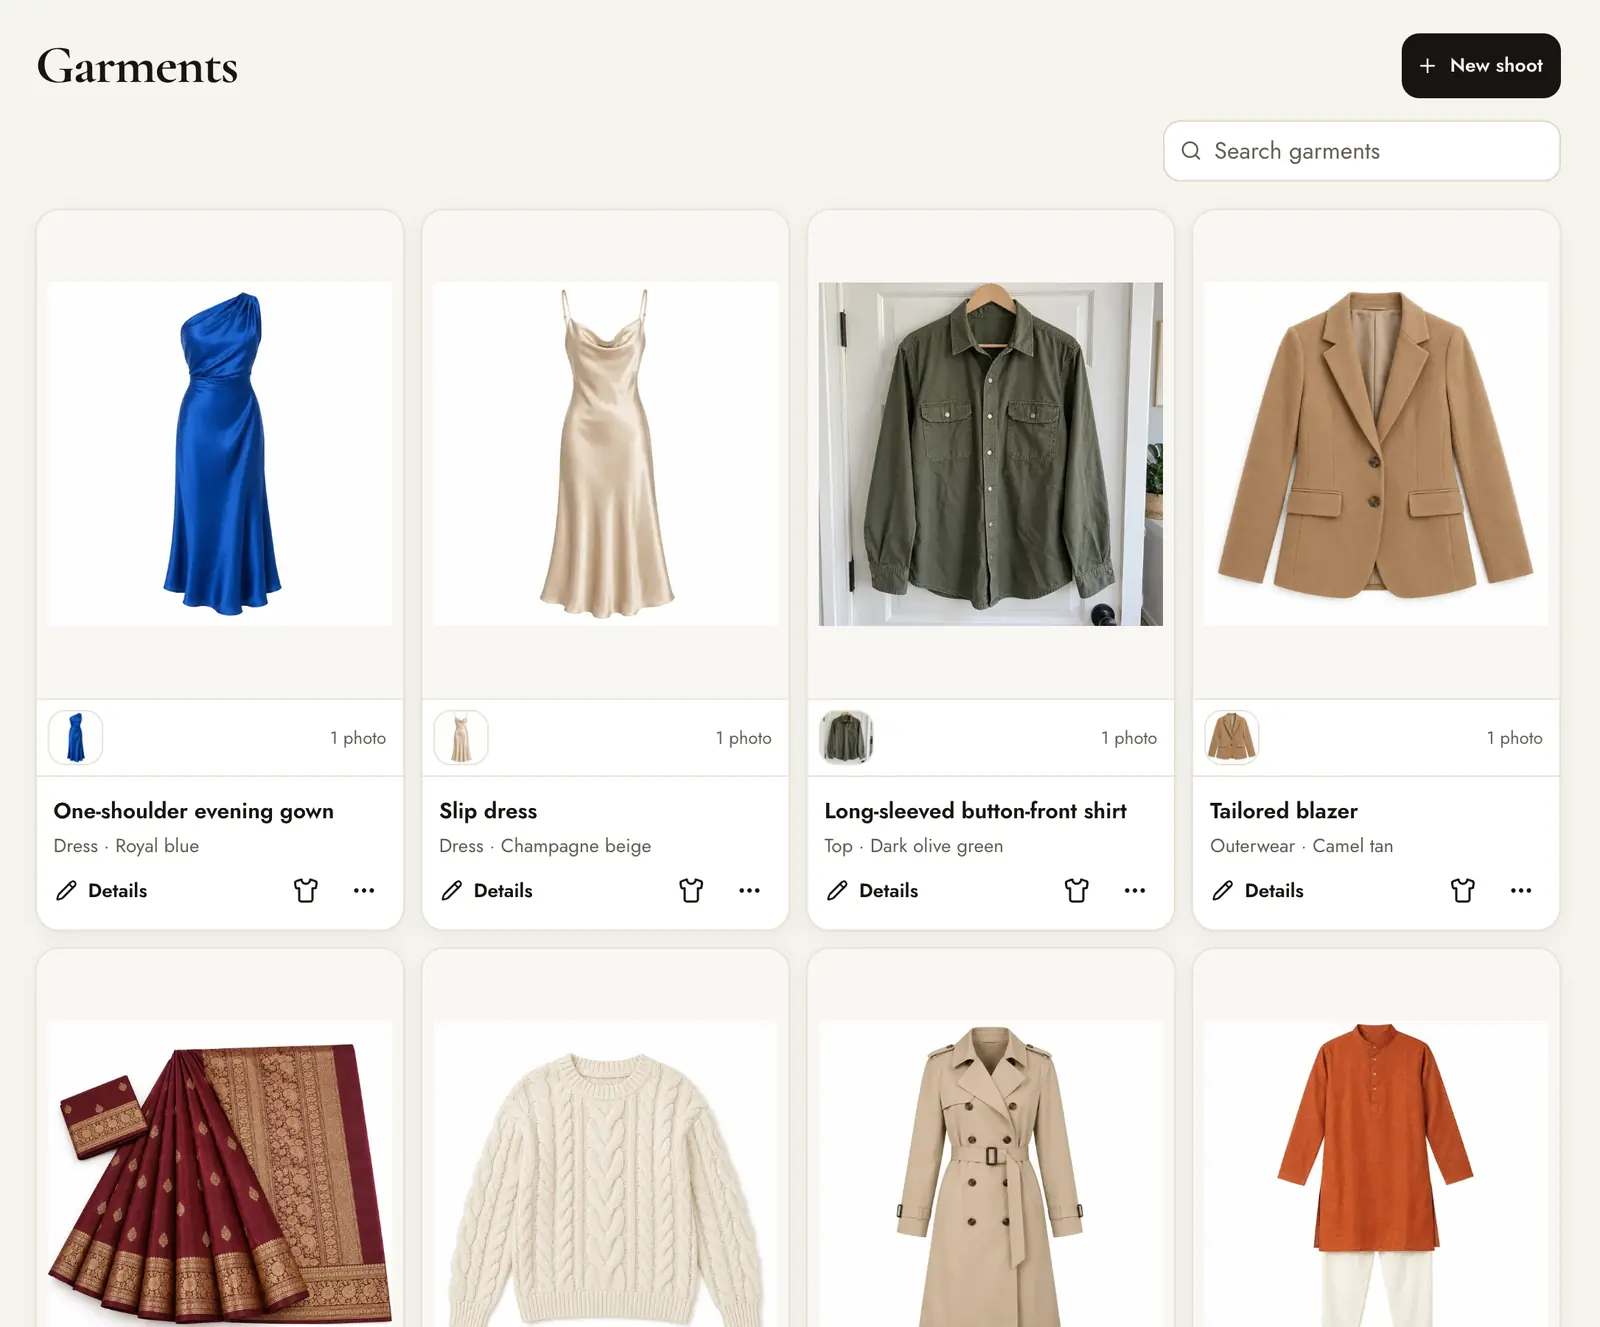
Open a product to see its saved details and every shoot made with it.